My kids love what we call kitchen science experiments. I noticed that my youngest was talking about states of matter for school. So I asked my 13 year old (Aiden) to see if he could come up with an experiment for my second grader (Kian) to do about the states of matter. This is a tactic I use a lot with the age difference of my kids. It requires Aiden to really think through how to illustrate a concept and he is more engaged when he is teaching it. Kian loves the attention he gets from his older brother and gets very excited even to fill out the worksheet!
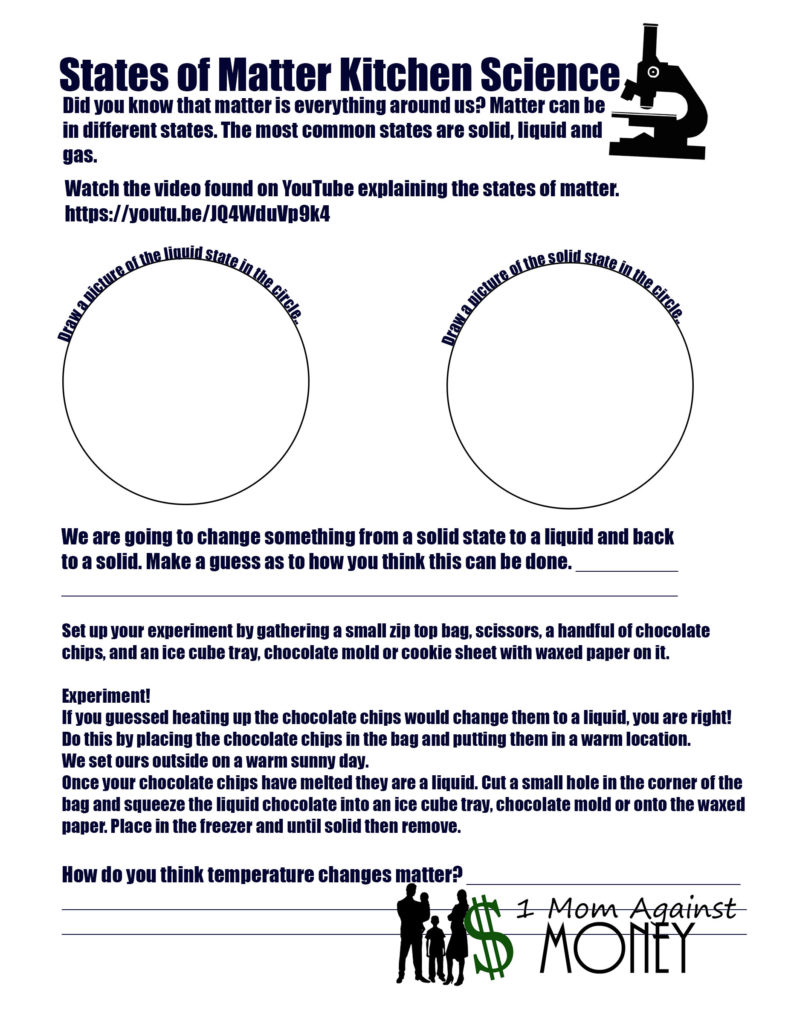
This one doesn’t require a lot of supplies; just things most of us have in our kitchen. All of the information needed is on the worksheet (free to download and print below).
We started out by watching this video about the states of matter.
We took some time to talk about the video and draw pictures of the liquid state and solid state of water (but it could be something else).
Then we talked about what changes have to happen to make something become a liquid or make a liquid become a solid. By talking Kian realized that temperature changed the items state of matter. He wrote down his discovery.
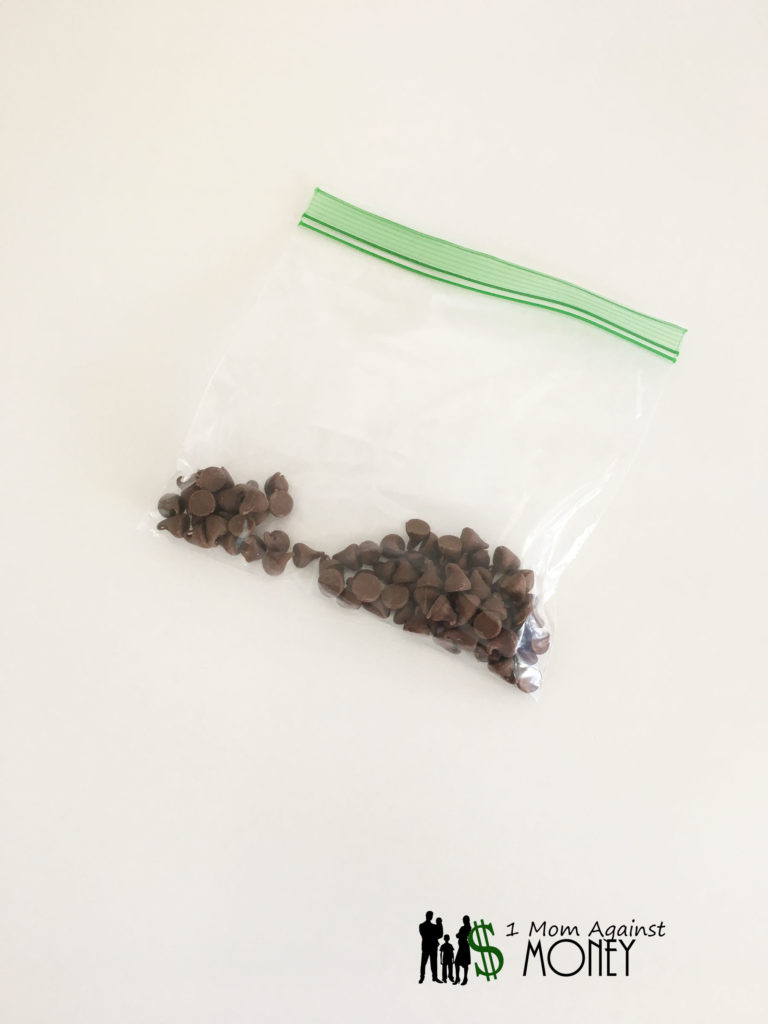
Next we set up our experiment. All you need is a ziplock bag, a handful of chocolate chips, scissors and an ice cube tray, candy mold or pan with waxed paper on it. We put a handful of chocolate chips in the bag. Kian wanted to try to melt the chips with his hands but we ended up putting them outside in the warm sun.
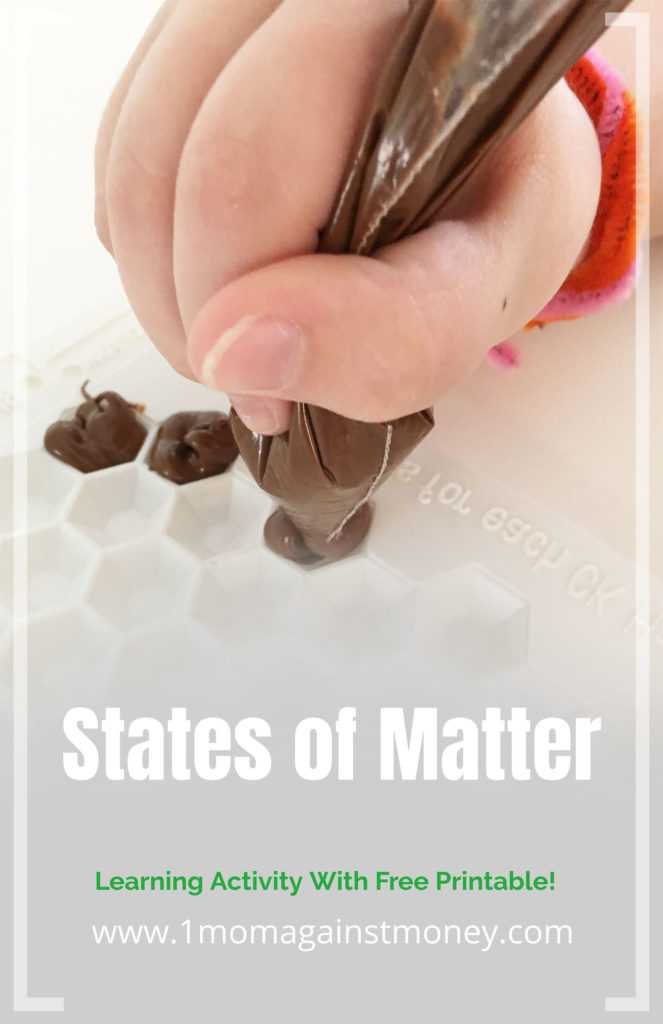
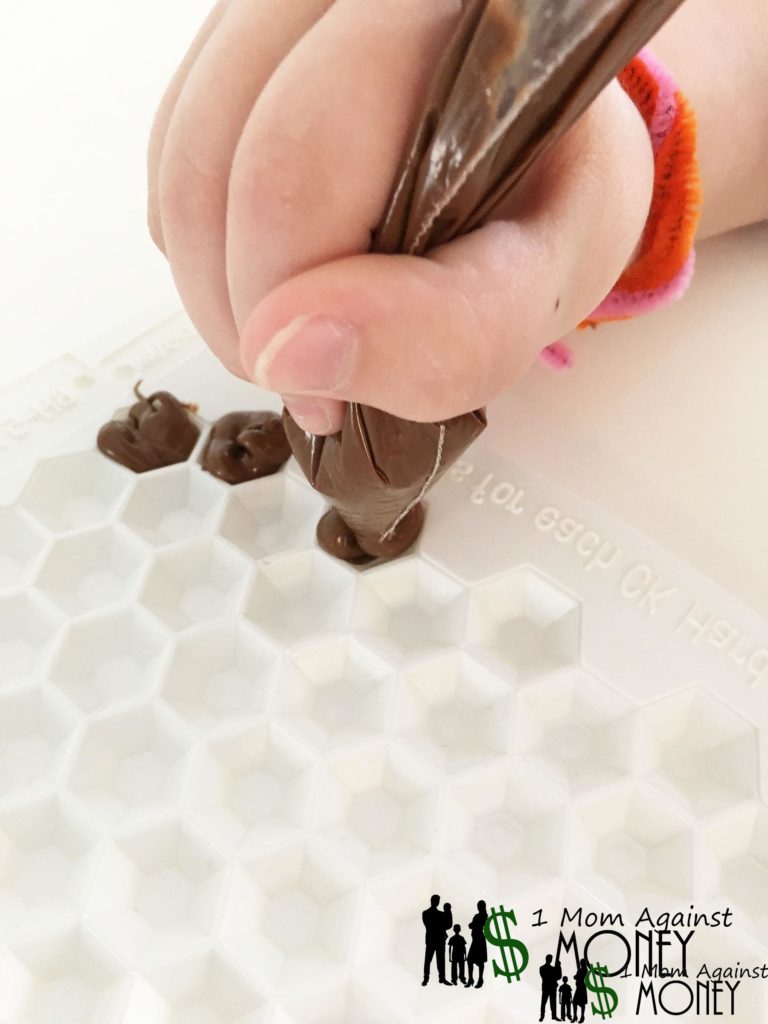
Once they melted we cut a little hole in one of the bag corners and squeezed out the chocolate into a candy mold (you can also use an ice cube tray or pan with waxed paper on it).
Then we put it in the freezer and waited a few minutes. When we pulled out the chocolate it was in a solid state again! We discussed how this would happen and eventually decided that the temperature changed how the particles acted. By heating up the chocolate it let the particles move around and caused it to become a liquid. We ended up putting our little chocolates on top of some ice cream later on for dessert.
Have fun experimenting!
