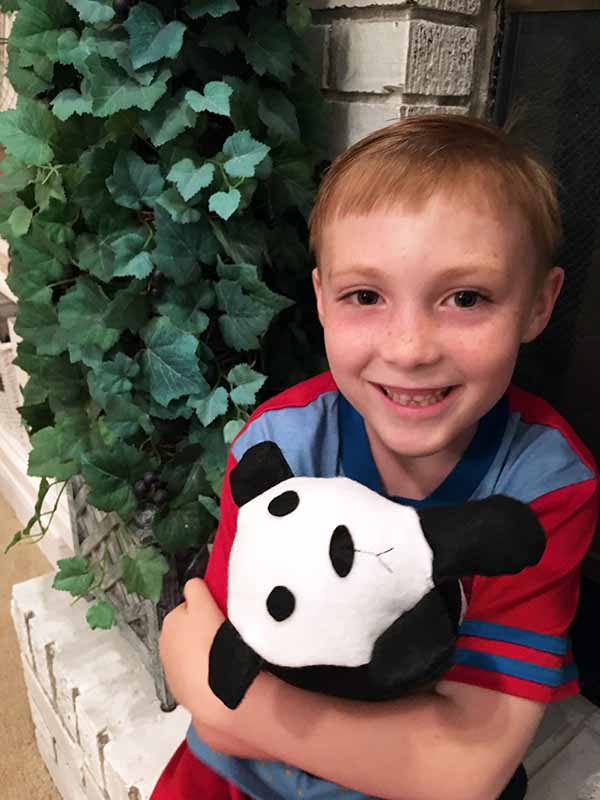
My six year old is currently obsessed with pandas. He has checked out countless panda books from the library. He is now determined to become a zookeeper for pandas when he grows up. He has watched videos about pandas. He is positive his next birthday party will feature pandas and he has tried to convince me that we could somehow get a panda as a pet. So when I was working on another project and had some leftover black and white fabric sitting next to each other, I thought it would be fun to make him a panda pillow. I had just finished making a bolster pillow and thought that the shape would make a cute panda. I am not a very advanced seamstress, so there was some trial and error, but Kian loves him and I think it turned out reasonable well.
Step 1: Print Pattern
Pattern is in a pdf so it should print at the right size onto an 8.5×11 paper.
Step 2: Cut out the pattern
Step 3: Pin to Fabric
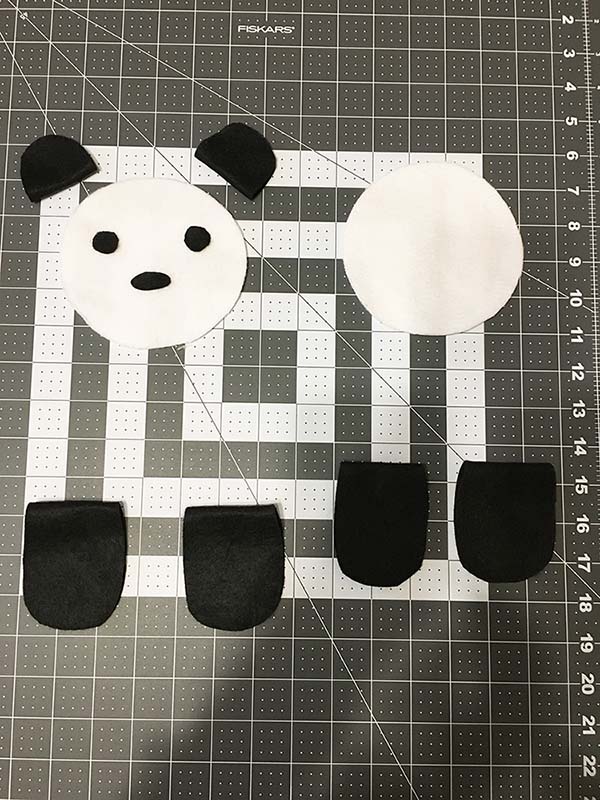
Fold a piece of black felt in half and pin the eyes, paws and ears pattern.
Fold a piece of white felt (I used flannel because that was the leftover I had on hand) in half and pin the head piece to it.
Pin the nose piece to a single layer of black felt.
Step 4: Cut out the pieces.
You will need to pin the paw piece to the fabric again and cut out three more sets (4 paws total) and the ear piece one more time (2 sets total)
Step 5: Measure and cut out the body pieces.
You will need:
1 rectangular black piece that is 15″x 2.5″
1 rectangular white piece that is 15″x 5″
1 rectangular black piece that is 15″x 5″
Step 6: Sew the rectangular pieces together.
Sew them so that the 15″ sides are together. Right sides together and so that the white piece is between the two black pieces as shown below. P.S. ignore the fact that mine is much, much longer. I started putting it together and decided that it was way too long for how round it would end up and decided to shorten it. Remember how I said there was lots of trial and error 🙂
Step 7: Sew the eyes and nose to one of the white round pieces.
I used regular black thread and sewed on the small lines for the mouth.
Step 8: Sew the Body
Sew the black fabric of the body to itself right sides together so that it forms a tube with a hole in the white part. There should be a half inch seam allowance.
Step 9: Sew the paws and ears
Sew the right sides together of your paw and ear pieces. Leave a opening at the flat part of the paws and ears. Use this opening to turn them right side out and fill with a small amount of stuffing.
Step 10: Sew on the back end
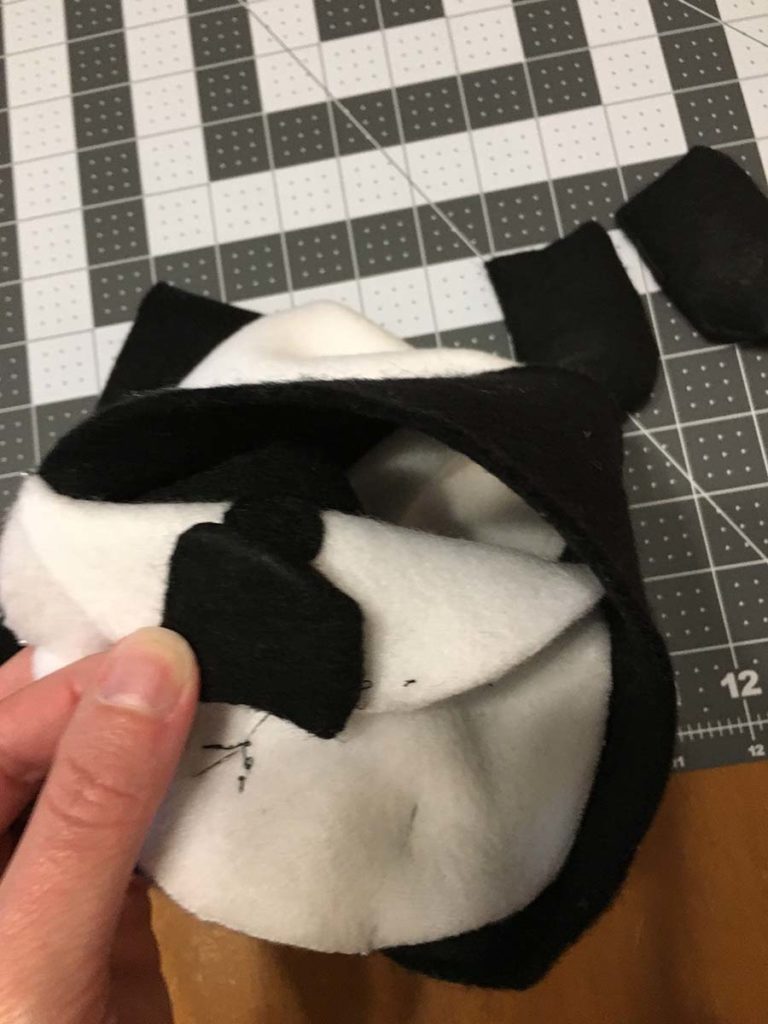
This part is a little tricky and took me a bit to get my head wrapped around it. So you will want to pin the white circle (without the face) to the tube you just made. It should be attached to the end with the skinnier black piece. The tube and the circle should be inside out. So you are looking at the back sides of the fabric. Place two paws at the edge of the tube with the feet inside the tube and the flat open ends along the edge of the fabric. The paws should be sandwiched between the black and white fabric. Pin them in place on either side of the seam for the tube. This will be the “belly” part of the panda so we want his legs to face the right way. After pining the legs and all the way around the circle so that the edges of the fabric line up, sew around the edge with a 1/4″ seam allowance.
Step 11: Sew on the face and ears
This step is very similar to the last one. Make sure that the legs are positioned in a similar way as the back legs. Make sure the face goes on the right way so that the mouth is right above the legs. This time we also need to add the ears. I place mine so that they were just above the eyes. Pin them so that the ear hangs inside the tube. Sew around the edge with a 1/4″ seam allowance.
Step 12: Turn right side out
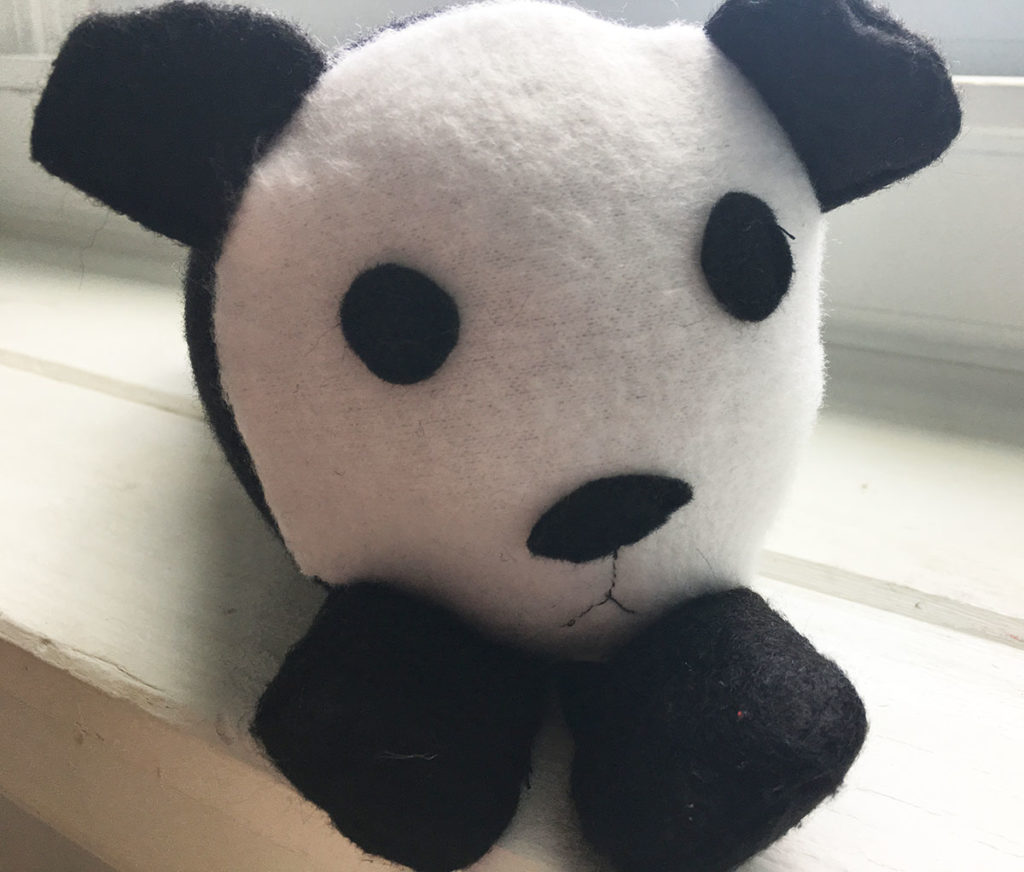
Now it’s time to see if we did it all right! Turn the panda right side out using the hole you left in the panda’s “belly”. Fill it with stuffing and then using a needle and white thread sew up the opening.






[…] DIY Panda Pillow […]